Direct Ascent to Sawmill Mountain from PMC
(30th August 2012)
^ ^ ^ Earlier exploratory hike to check the feasibility of the route (8/8/2012)
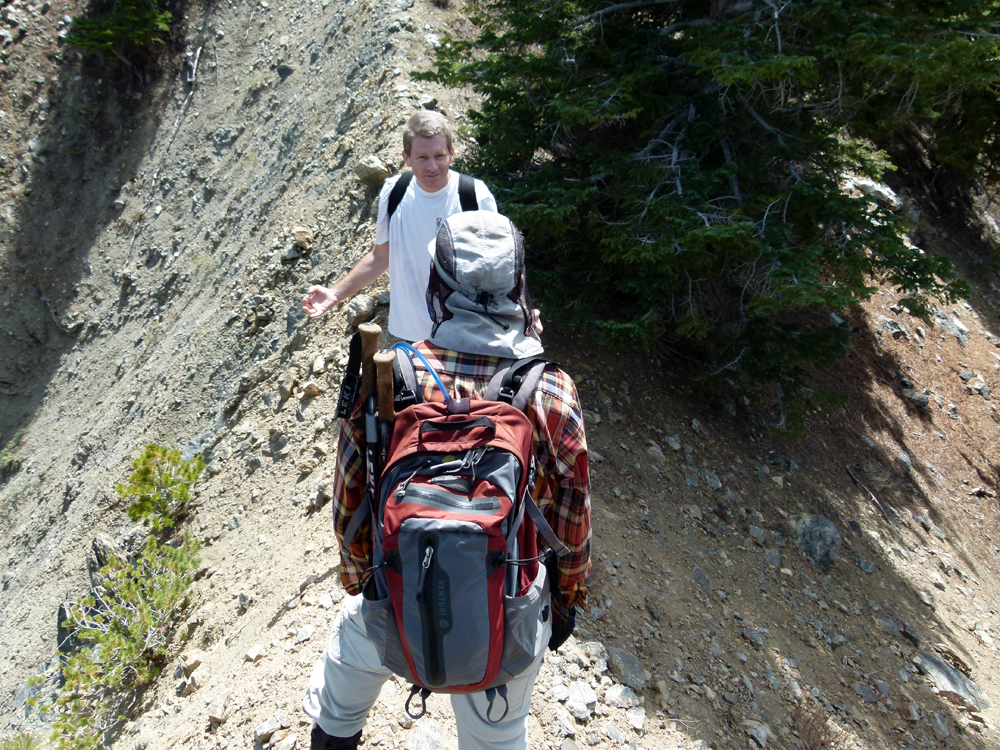
^ ^ ^ The lower part of the hike follows this knife-edge ridge.
^ ^ ^ Acting the goat.....the ridge is not actually difficult to walk along.
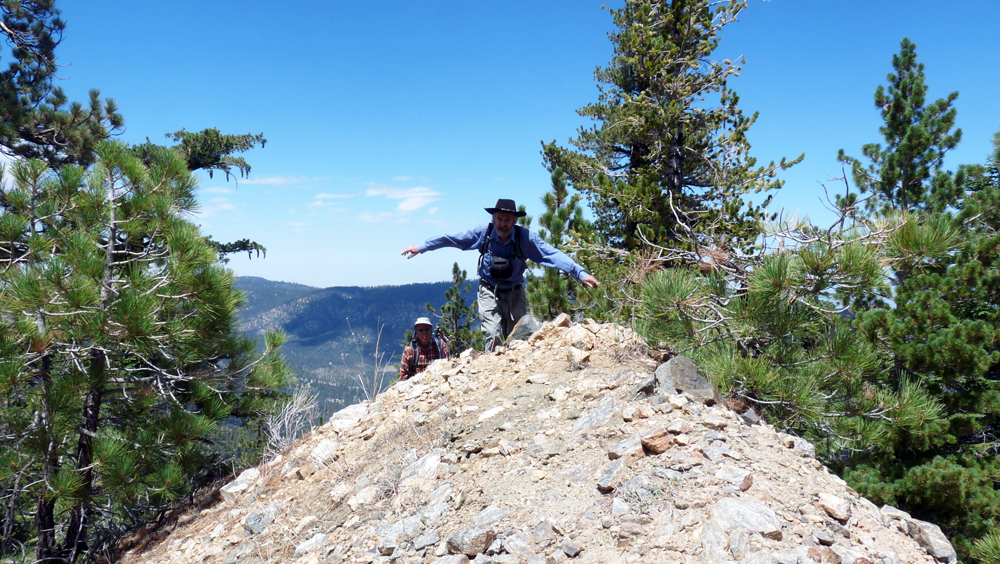
^ ^ ^ We'd been down this route before but the first time climbing up.
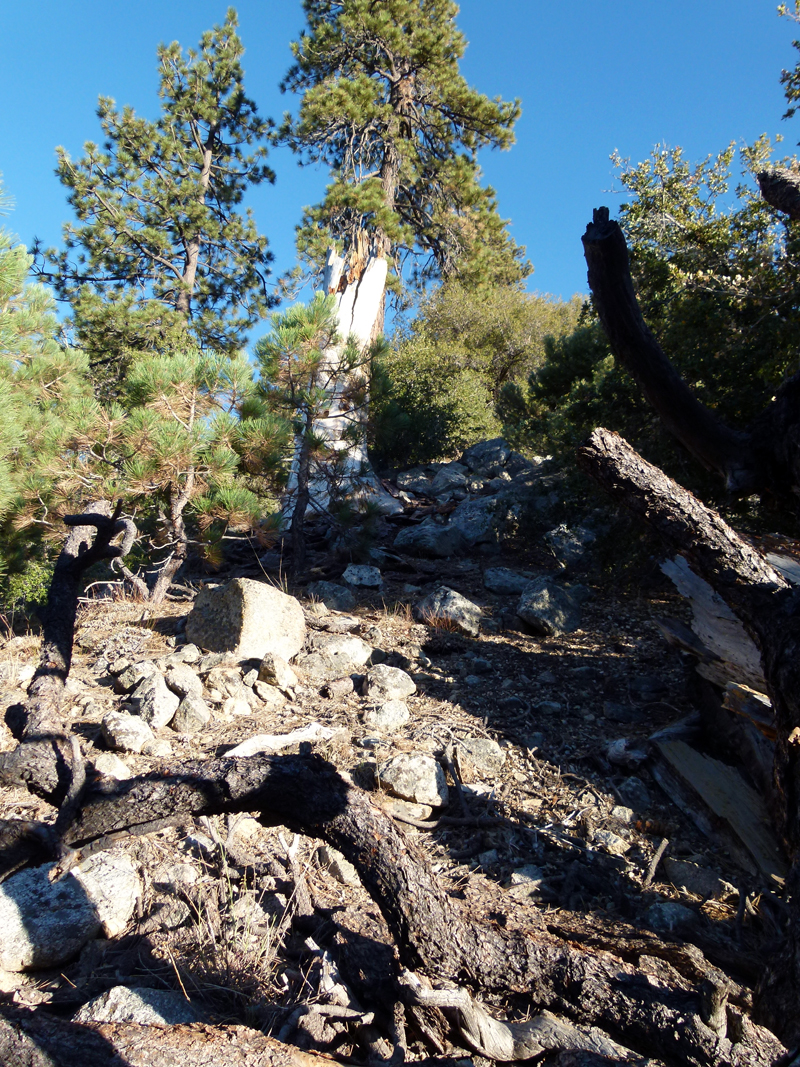
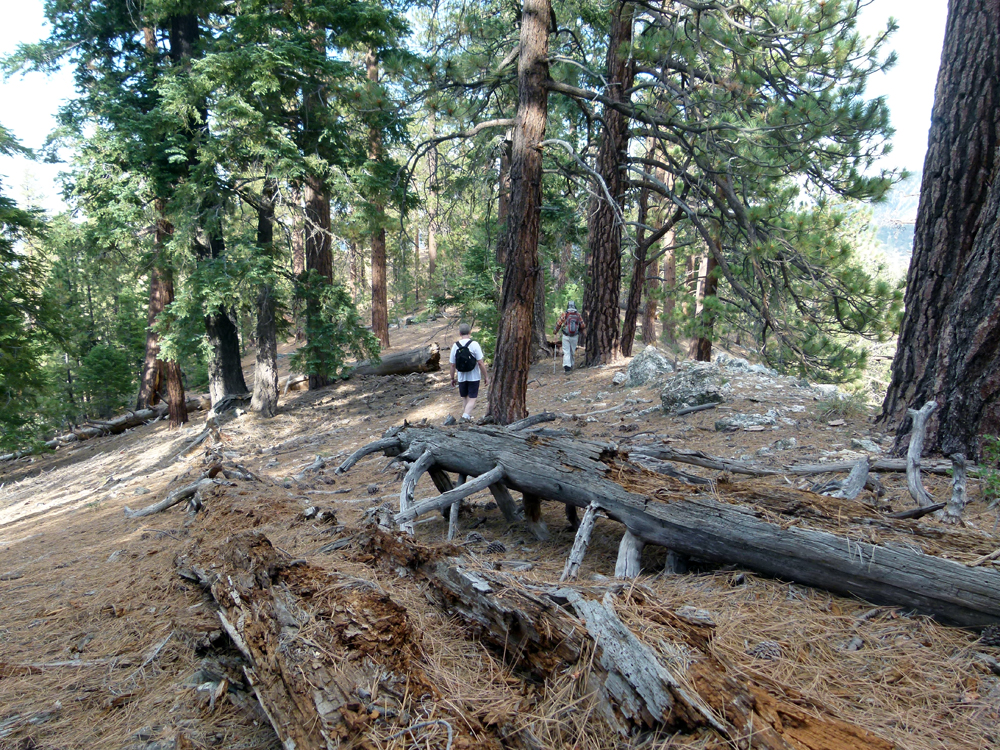
^ ^ ^ The ridge becomes wider the higher you climb.
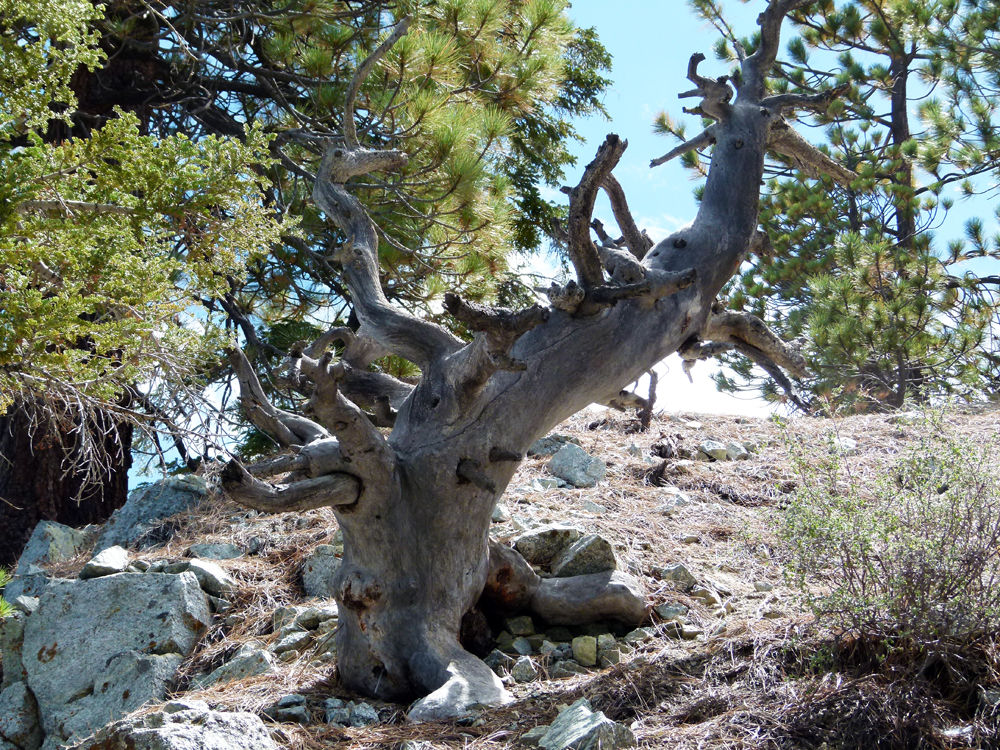
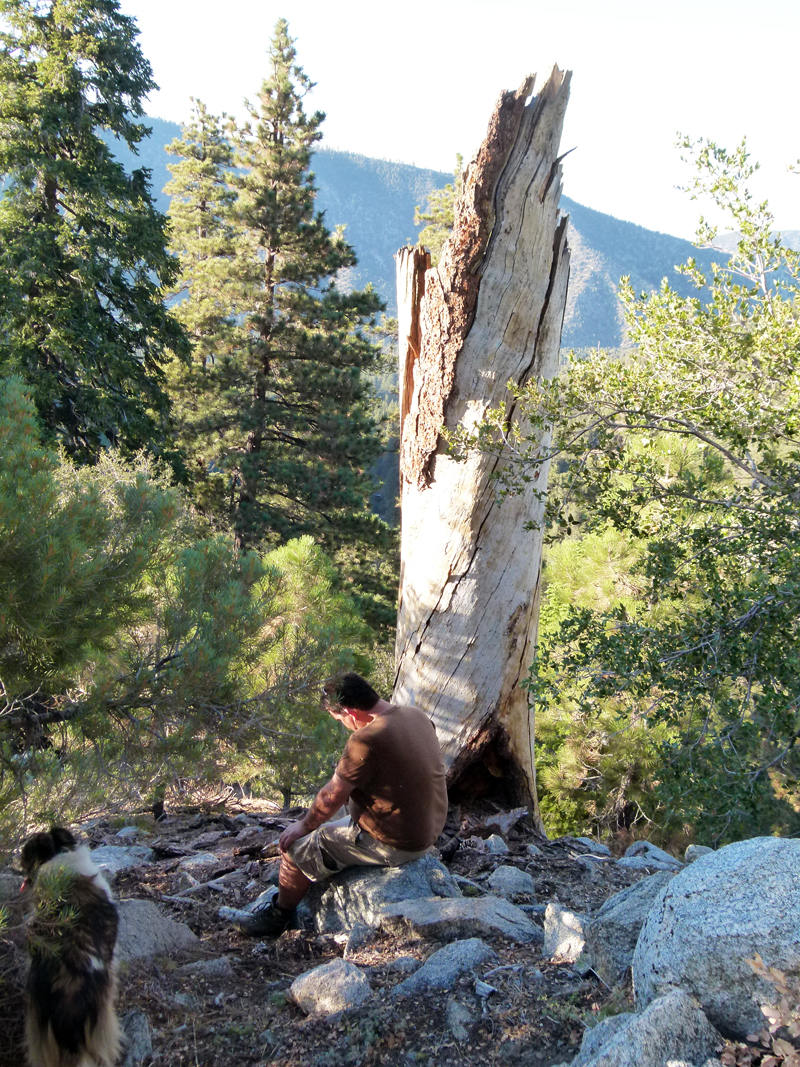
^ ^ ^ A life well lived.
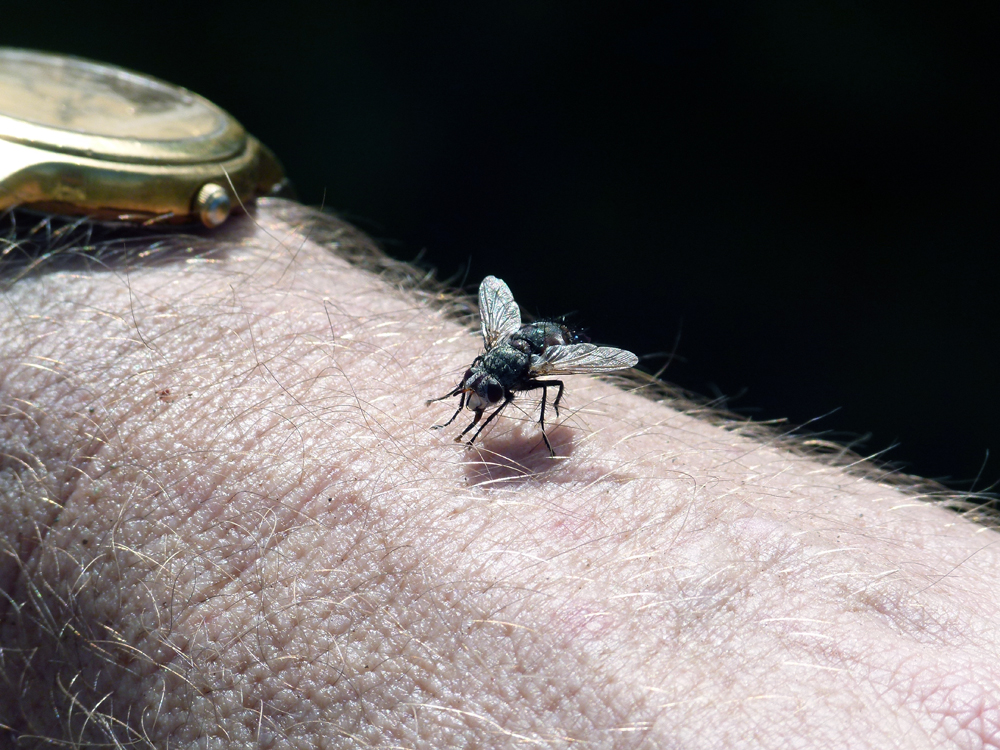
^ ^ ^ A visitor.
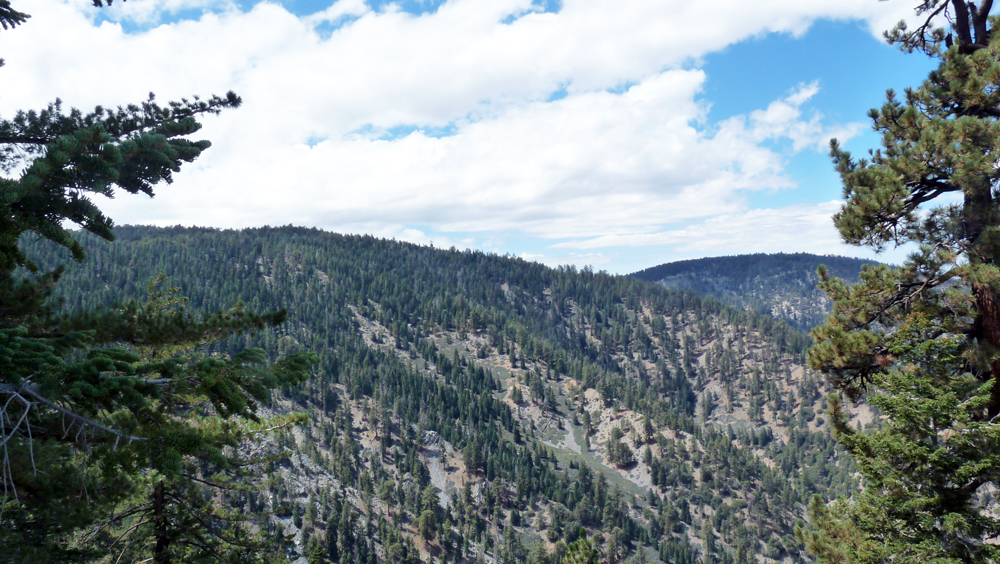
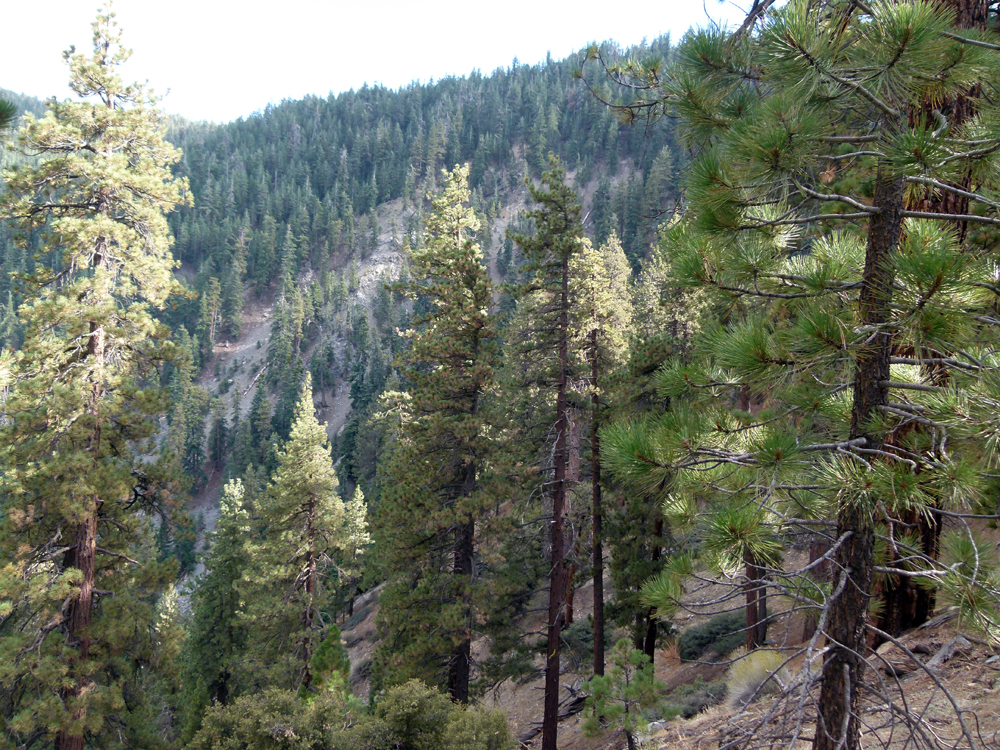
^ ^ ^ Looking across at the ridge we plan to descend later in the day.
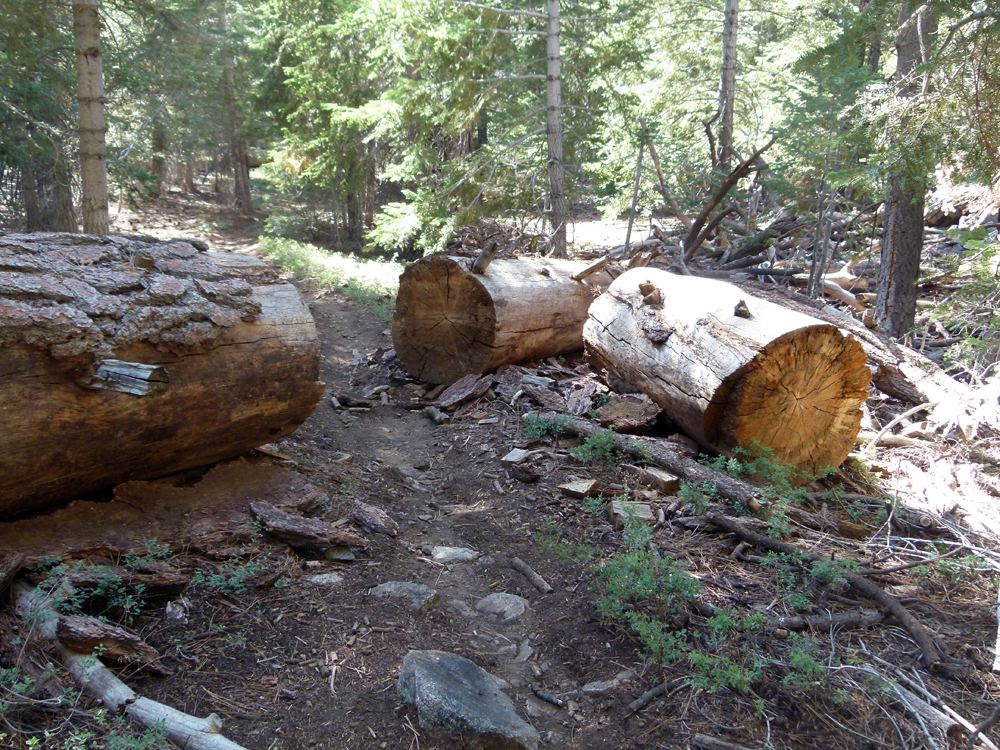
The route is fairly fool proof climbing up but more difficult to follow going down. At one point when descending (about half way), it is very easy to get lured onto the wrong ridge and go the wrong way. This is because the correct ridge is hidden from view and easy to miss. If you are doing this route for the first time, I'd recommend climbing up first rather than going down which is much more tricky. Or use GPS waypoints to make sure you stay on the correct ridge line. A good rule of thumb when going down is to always bear to the right.
It is a general truism that it is much easier to find your way when ascending than descending. This is because the ridges divide into many subsidiary ridges as you descend, so it's easy to pick the wrong ridge going down and be led astray. However, when ascending, the many subsidiary ridges combine into fewer main ridges, which all eventually join together at the summit, so you are not likely to get lost ascending.
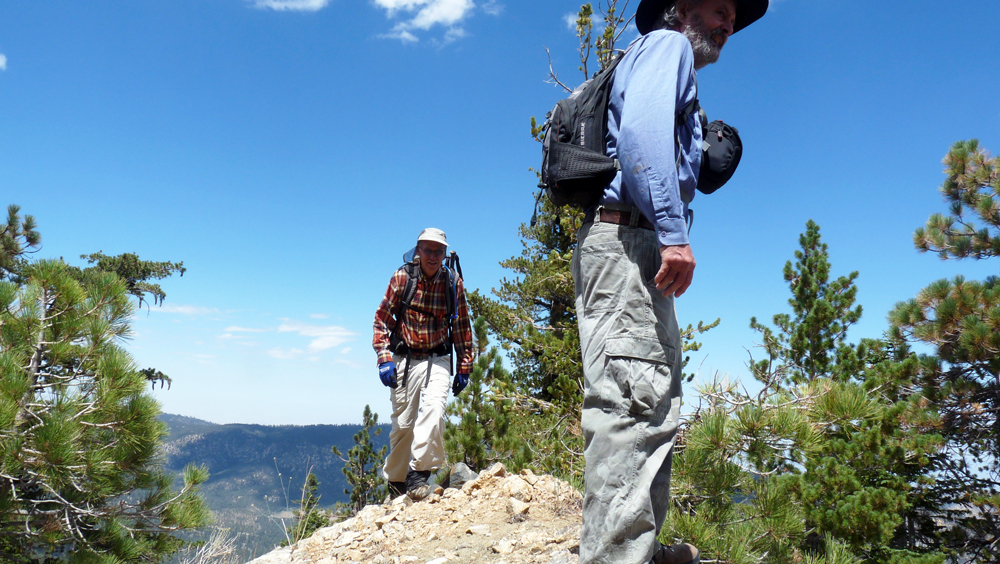
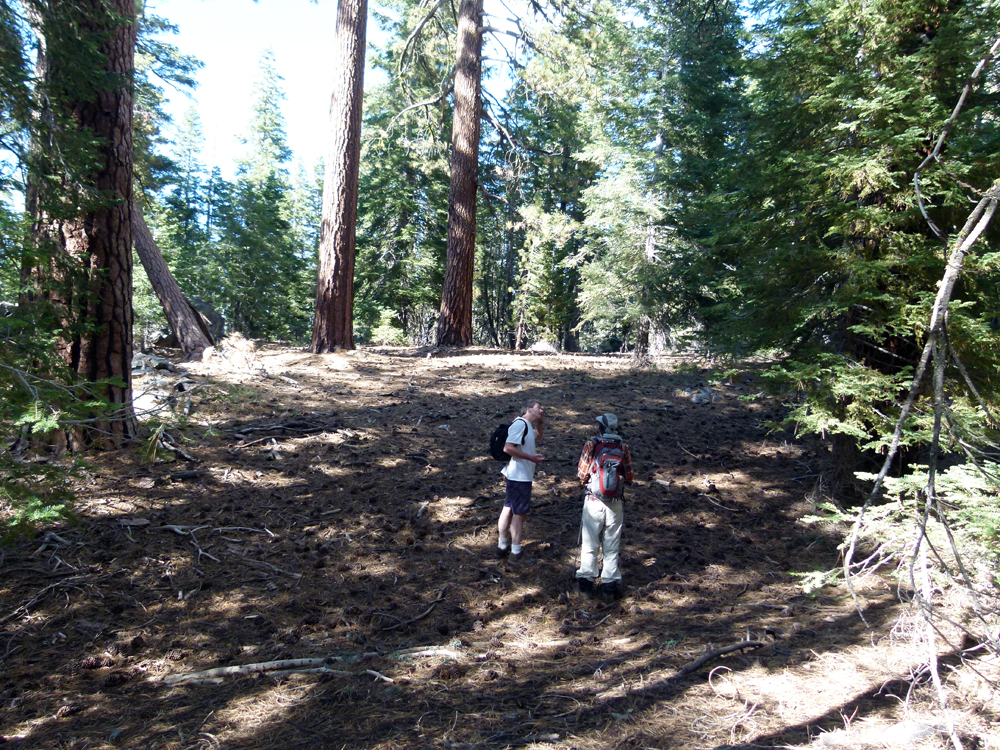
^ ^ ^ The higher you get the more open it becomes and the climbing easier.
^ ^ ^ The final leg, down then up. The summit almost in sight ahead.
^ ^ ^ Brief pause for a ten-second breather nearing the summit.

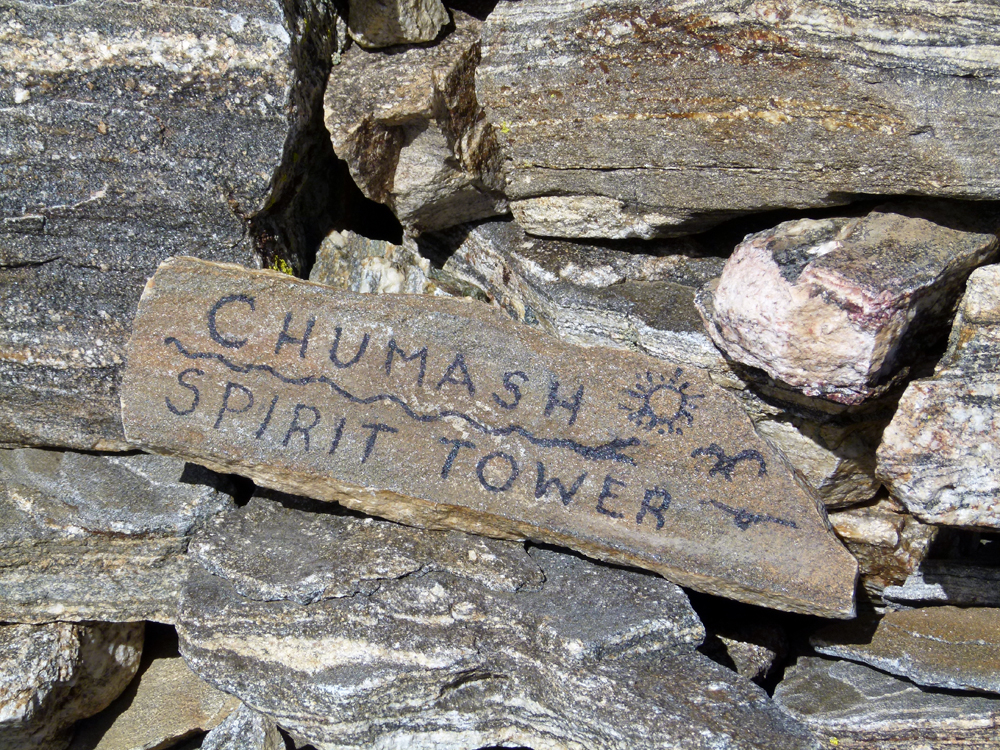
^ ^ ^ The summit of Sawmill Mountain.
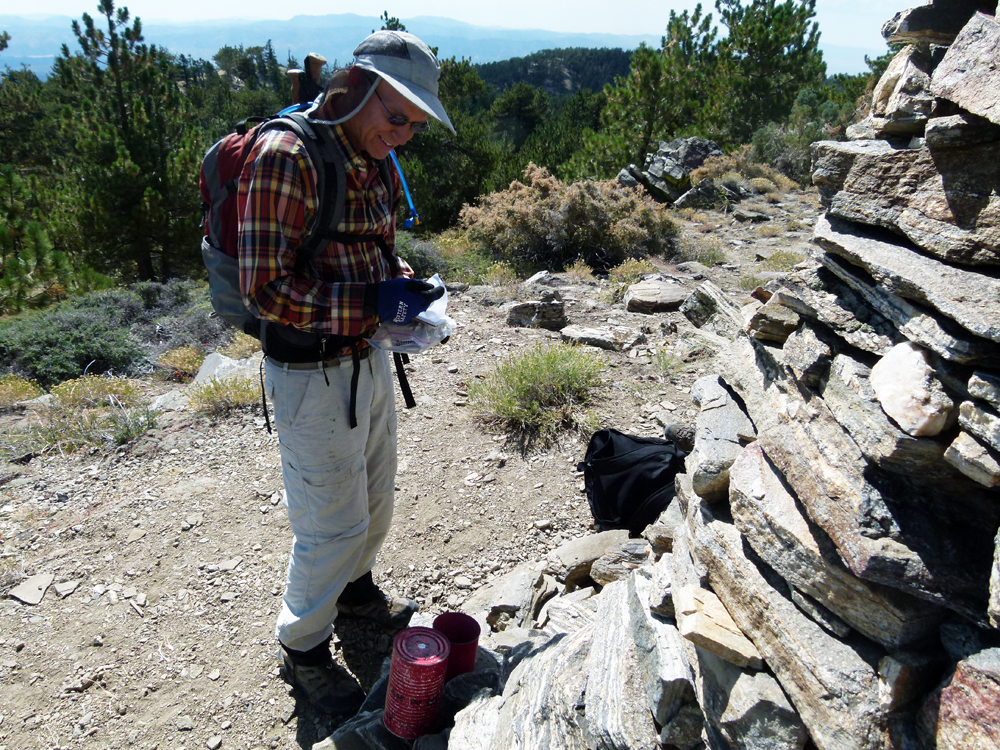
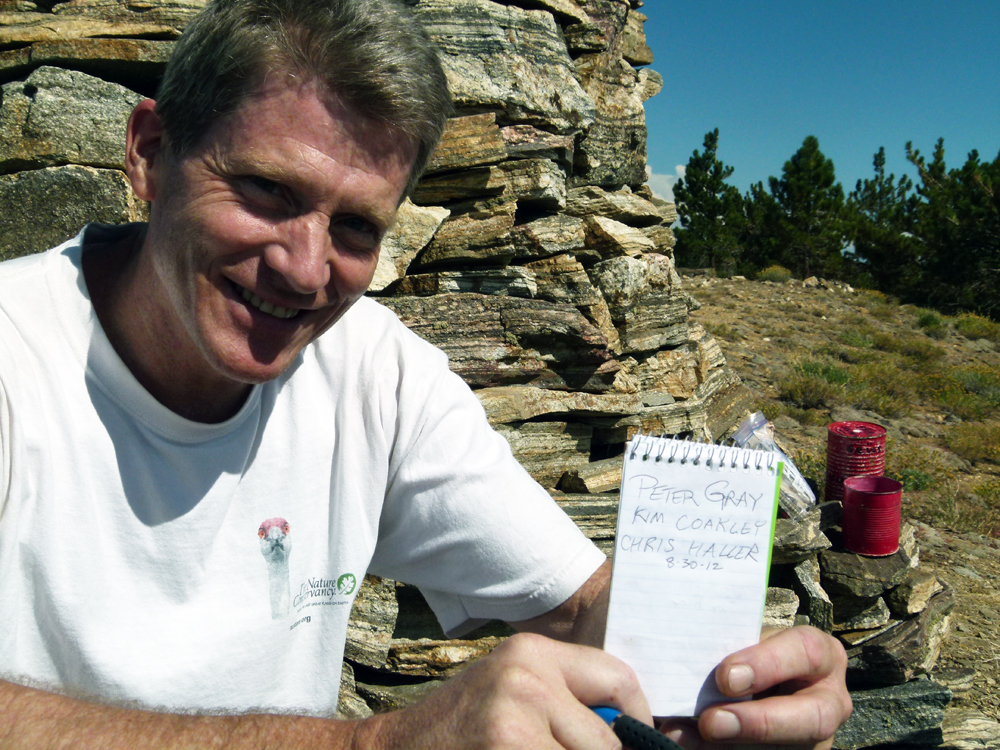
^ ^ ^ Unwrapping the log book.
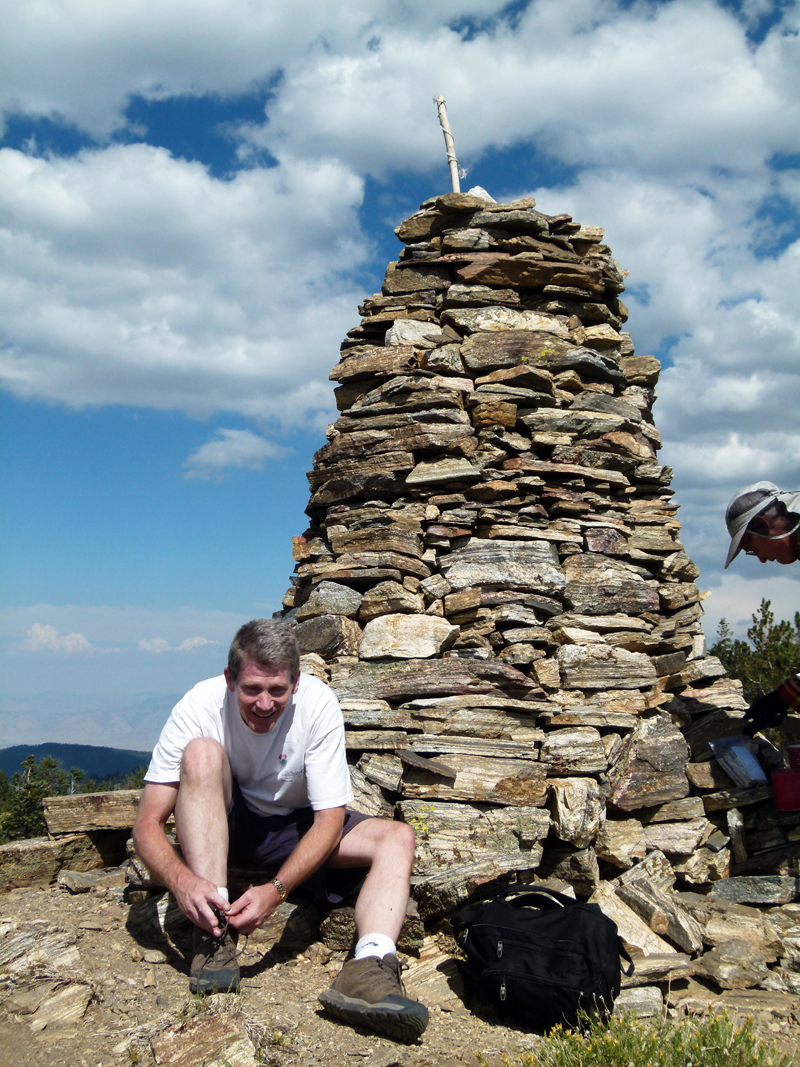
^ ^ ^ Adjusting boots in preparation for the next leg.
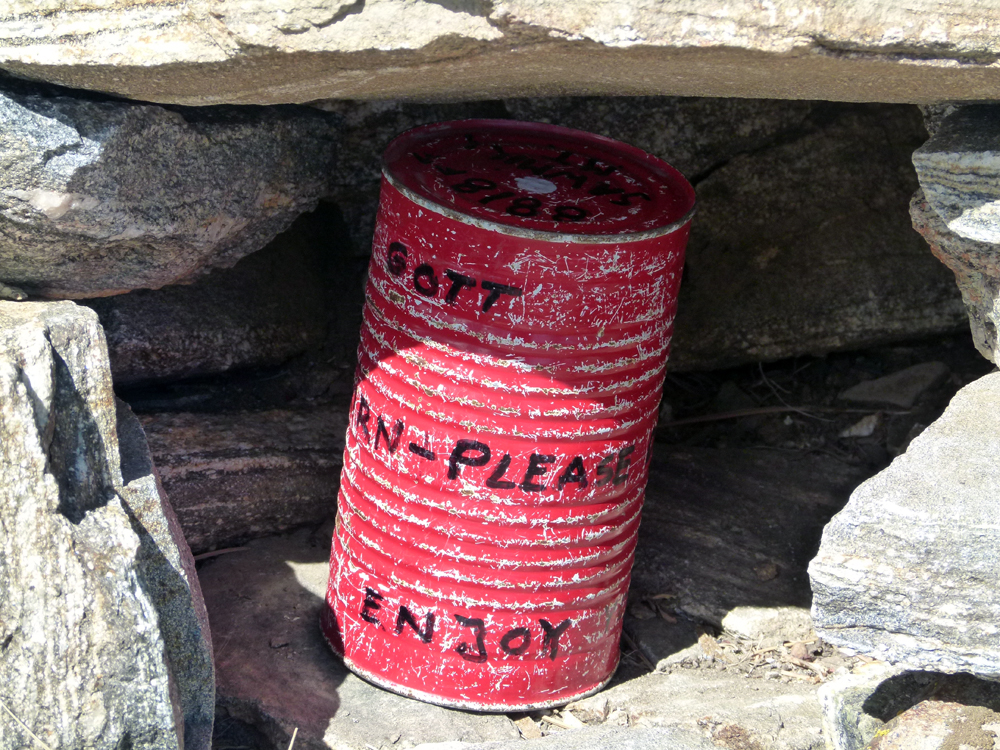
^ ^ ^ Replacing the log so it is protected from the weather.

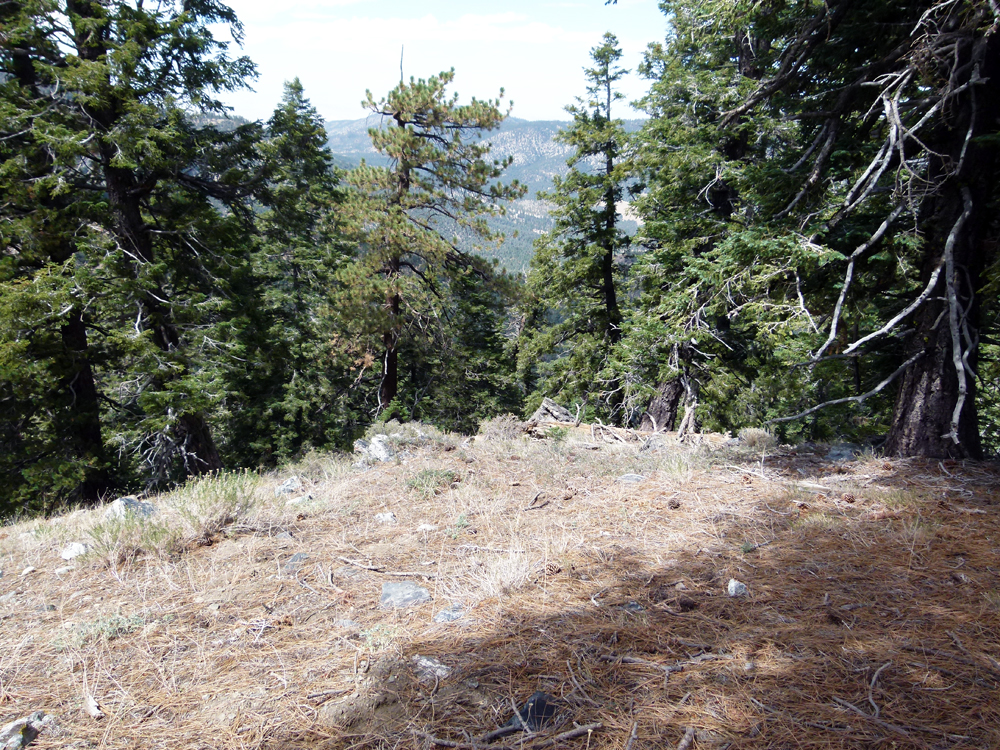
^ ^ ^ Looking back at a lower rock cairn which is visible from PMC. Spectacular views so it is a great spot to stop for lunch.
^ ^ ^ Following the Tumamait Trail west.
^ ^ ^ A GPS comes in handy here since you can't see the ridge going down until you are on it.
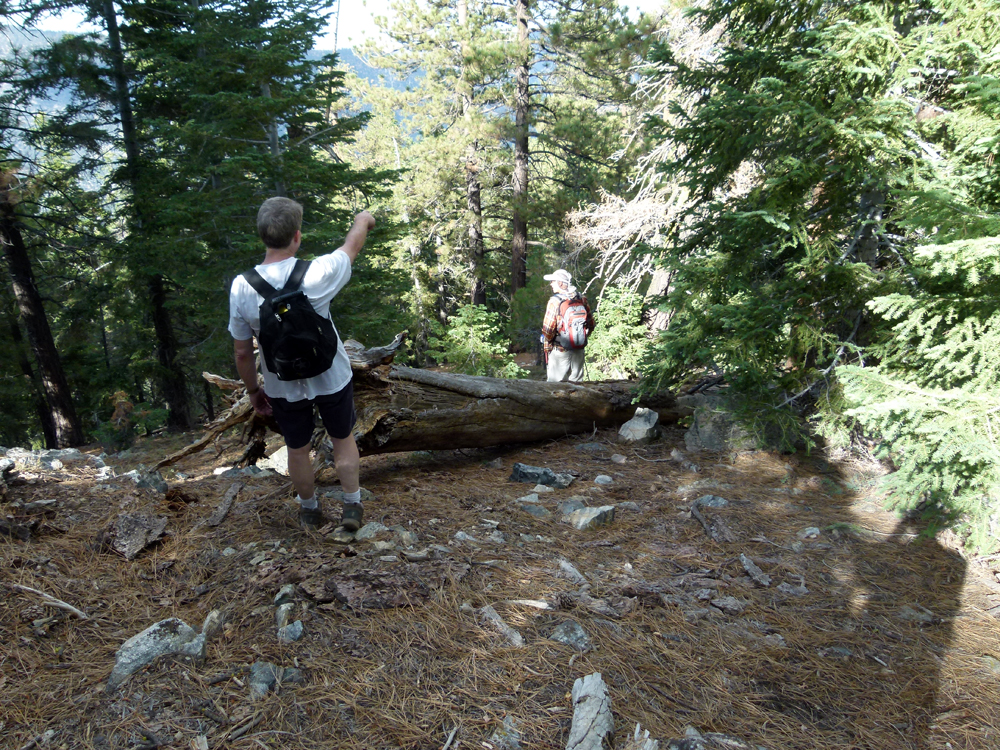
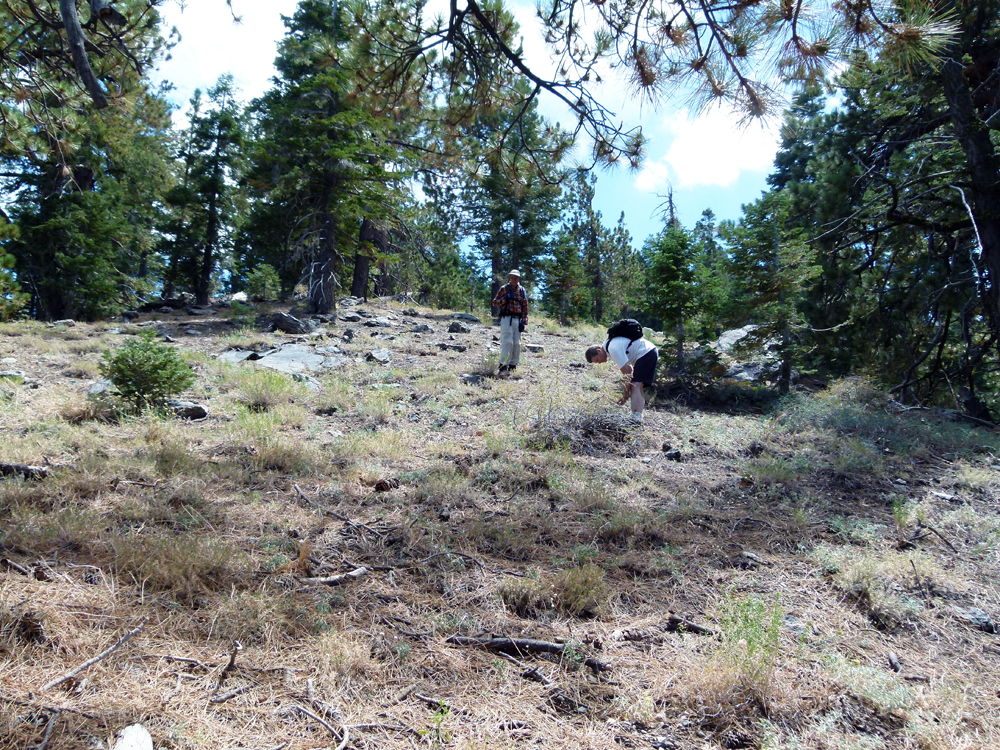
^ ^ ^ Searching for the adjacent ridge going down.
^ ^ ^ This is not the ridge we climbed earlier but one in between. In fact there are three ridges in between, none of which provide a suitable route for an easy descent.

^ ^ ^ Chris (on right) has been up and down this particular ridge before so he knows the way and acted as our guide.
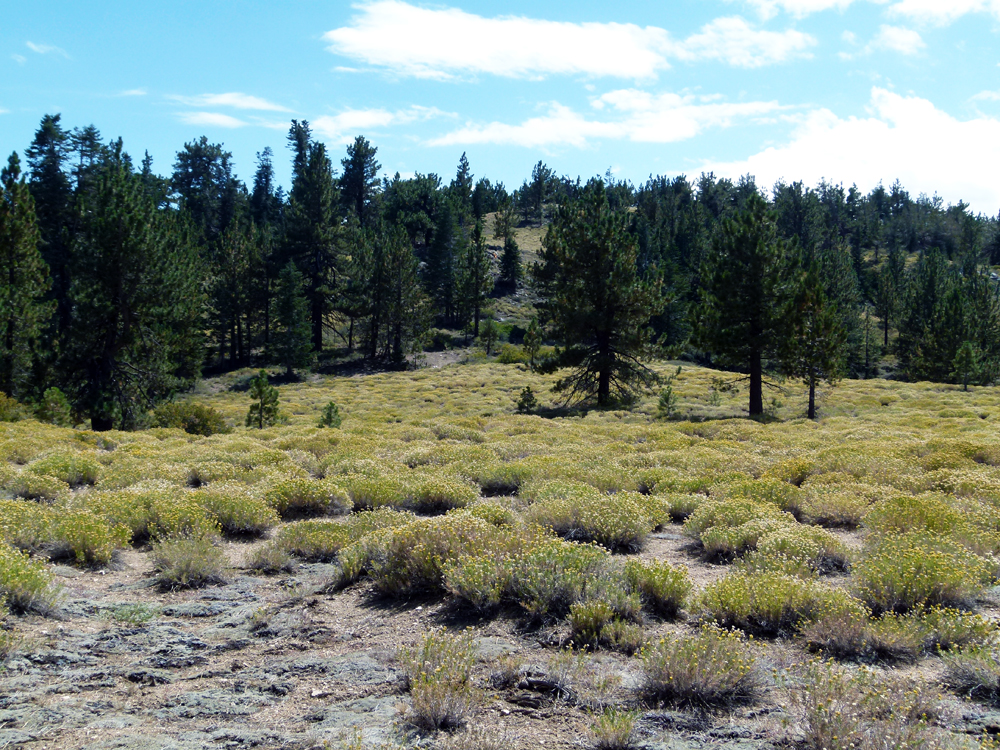
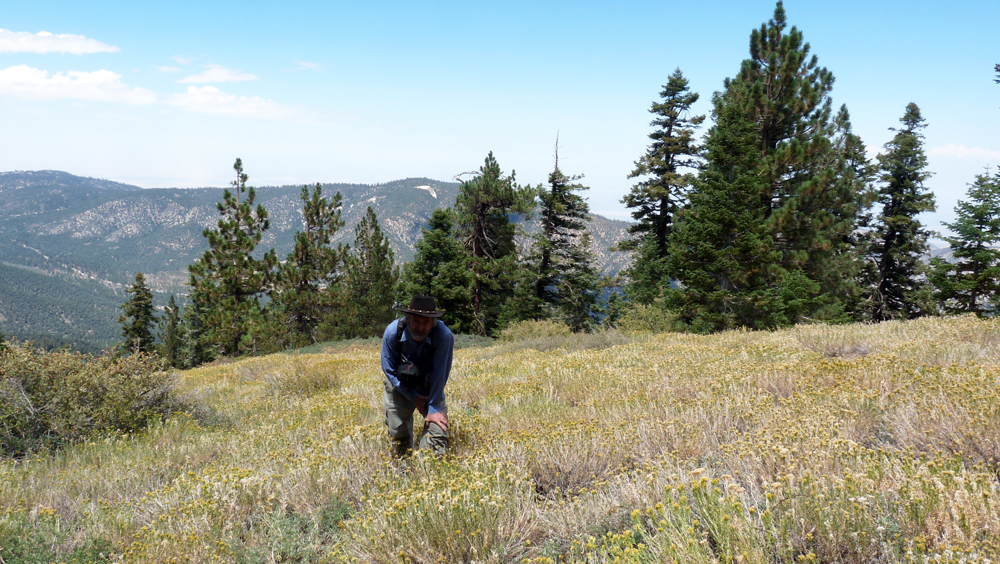
^ ^ ^ This ridge is a pleasant walk higher up but more difficult lower down. Following GPS waypoints is recommended in order to arrive efficiently and easily at the Bernina water tank.
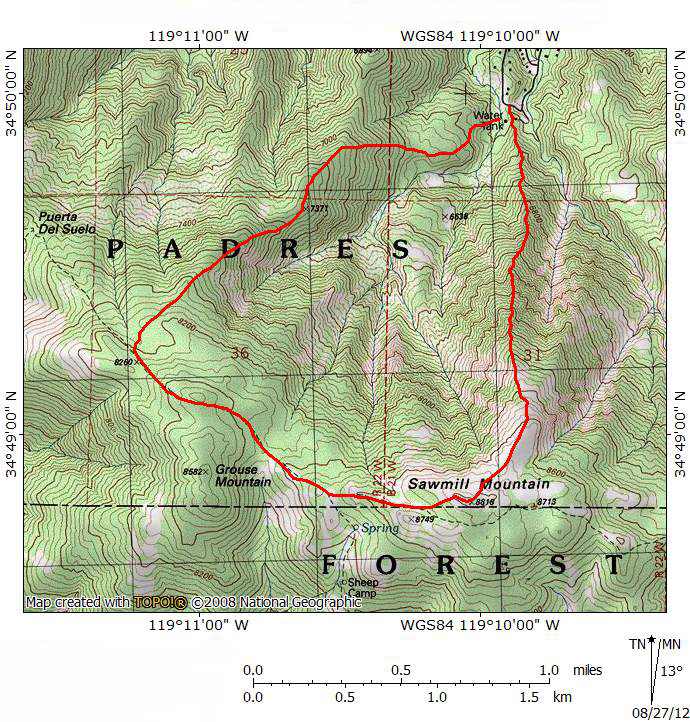
^ ^ ^ This is the route which returns to the starting point. Allow at least 6 hours to complete this loop.
![]()
Peter Gray
telephone: +1 (661) 242-1234